


いろんなタッチが表現できて楽しく、イラレの表現の幅が広がります。紹介するブラシ素材は全部無料なので、ぜひ追加して試してみてください。
Illustratorで使えるブラシフリー素材を10個厳選!

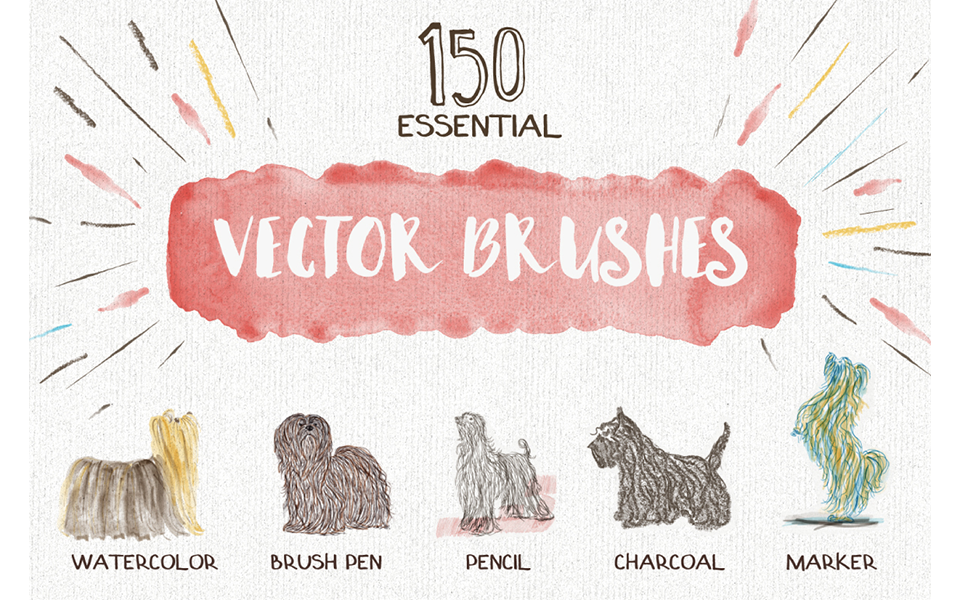
1【絵筆/鉛筆】Essential Vector Brushes
https://www.behance.net/gallery/42599643/Essential-Vector-Brushes-with-a-free-sample
「Essential Vector Brushes – with a free sample」は、水彩画風の絵筆、鉛筆、マーカーなど幅広いブラシを搭載しているブラシ素材です。無料サンプルでは29種類も使えます。
バリエーションが幅広くて使いやすいものが多く、とても便利です。絵筆や鉛筆のタッチで手書き風にしたい場合はこのブラシ素材を使ってみることをおススメします。
ダウンロード時に面倒なメールアドレスの登録や会員登録が不要で、簡単に試すことができます。

以下の加工例のように、絵筆のようなタッチでアクセントをつけることができます。様々な絵筆や太さ、色を組み合わせると、より自然な毛並みを表現できます。

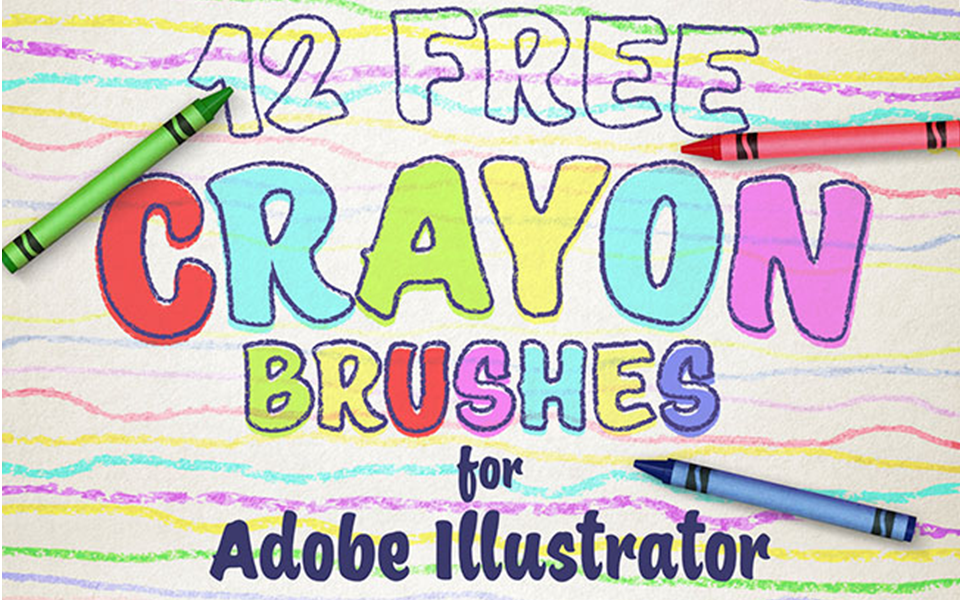
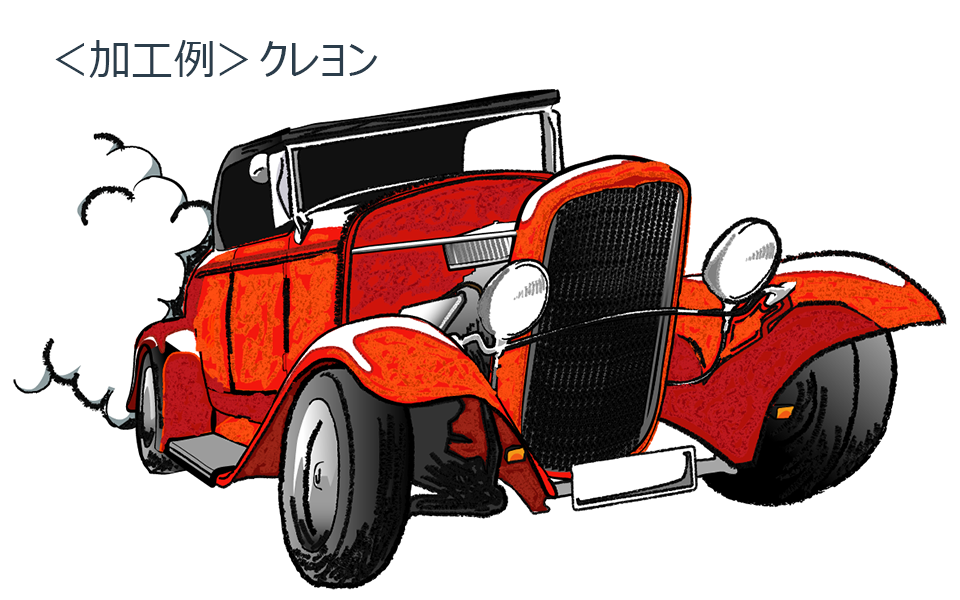
2【クレヨン】12 Free Crayon Brushes
https://creators-plus.jp/wp-admin/post.php?post=4218&action=edit
「12 Free Crayon Brushes for Illustrator」は、クレヨンのような柔らかいタッチのフリーブラシ素材で、12種類のブラシが使用できます。ダウンロード時にメールアドレスの登録が必要です。
輪郭がシャープな線では冷たく硬い印象を与えてしまいますが、以下の加工例のように輪郭をクレヨンのタッチにすることで、温かく柔らかい印象に変えることができます。
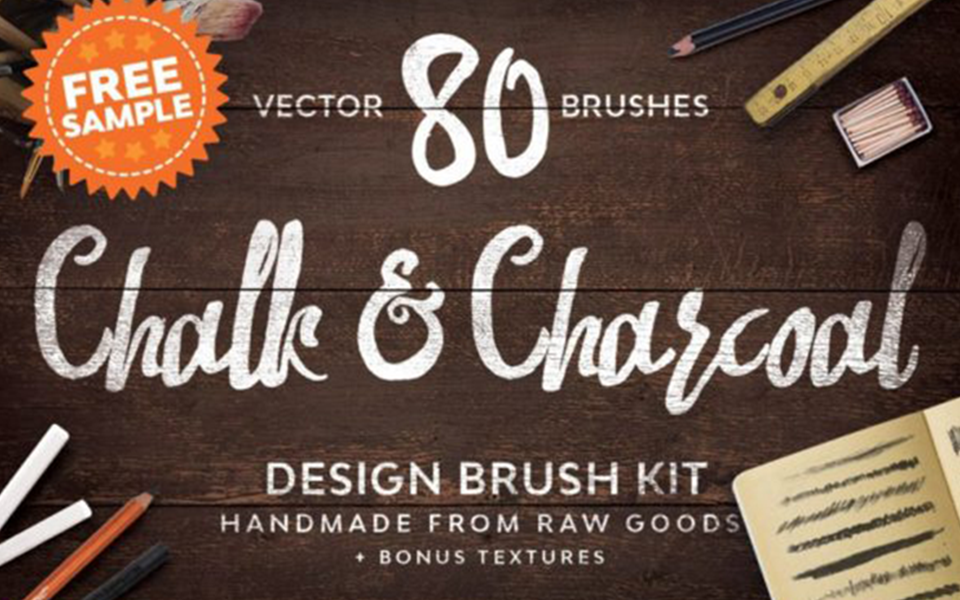
3【チョーク】Chalk & Charcoal
https://www.webdesignerdepot.com/2018/09/free-download-chalk-charcoal-vector-brushes-sample/
「Chalk & Charcoal Vector Brushes Sample」は、チョークのようなタッチを表現できるフリーブラシ素材で、20種類のブラシを使用できます。ダウンロード時にメールアドレスの登録が必要です。
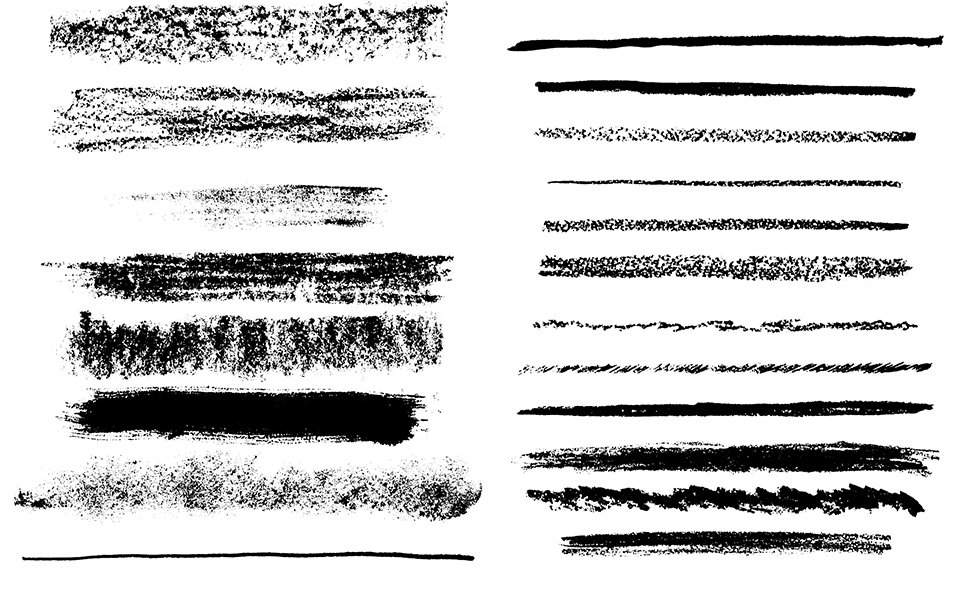
暗い緑の背景に白い線でこのブラシ素材を使うと、黒板にチョークで書いたようなデザインを表現できます。

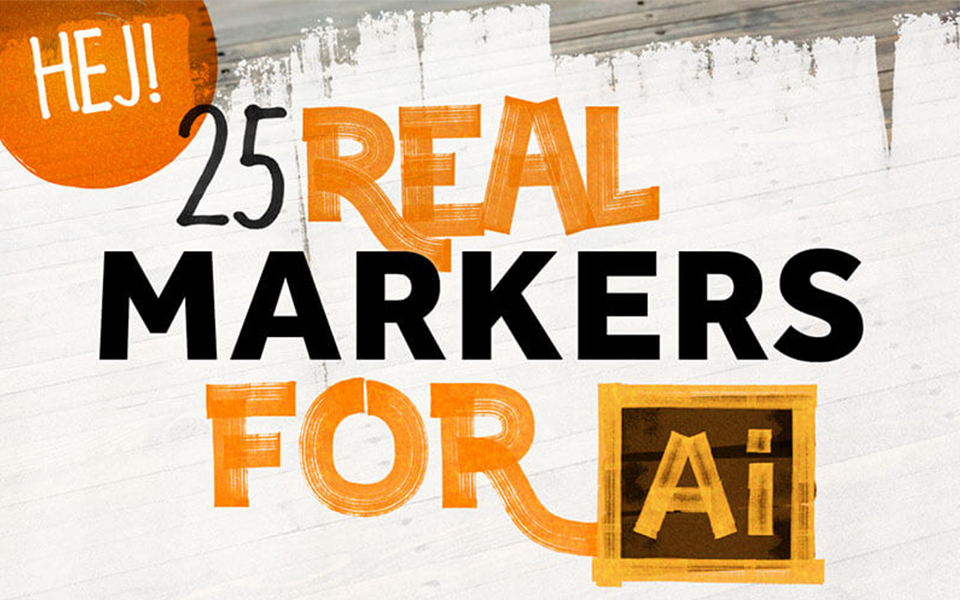
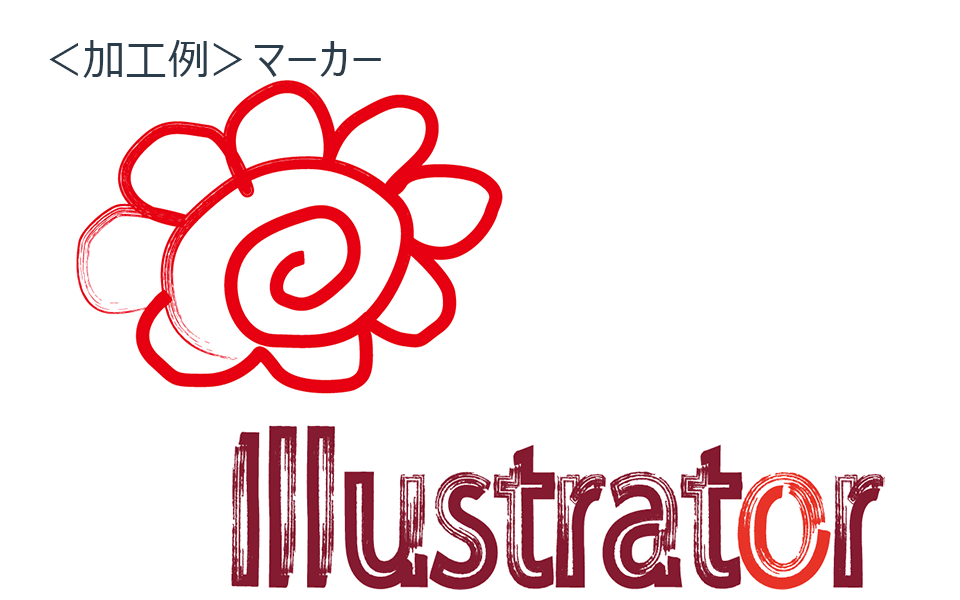
4【マーカー】FREEBIES – 25 REAL MARKERS
https://www.hejbrush.com/freebies
「FREEBIES – 25 REAL MARKERS FOR ILLUSTRATOR」は、マーカーやマジックのようなタッチを表現できるフリーブラシ素材で、25種類もブラシ素材が搭載されています。ダウンロード時にメールアドレスの登録が必要です。
以下の加工例のように、マーカーやマジックで描いたようなかすれ具合を表現できます。
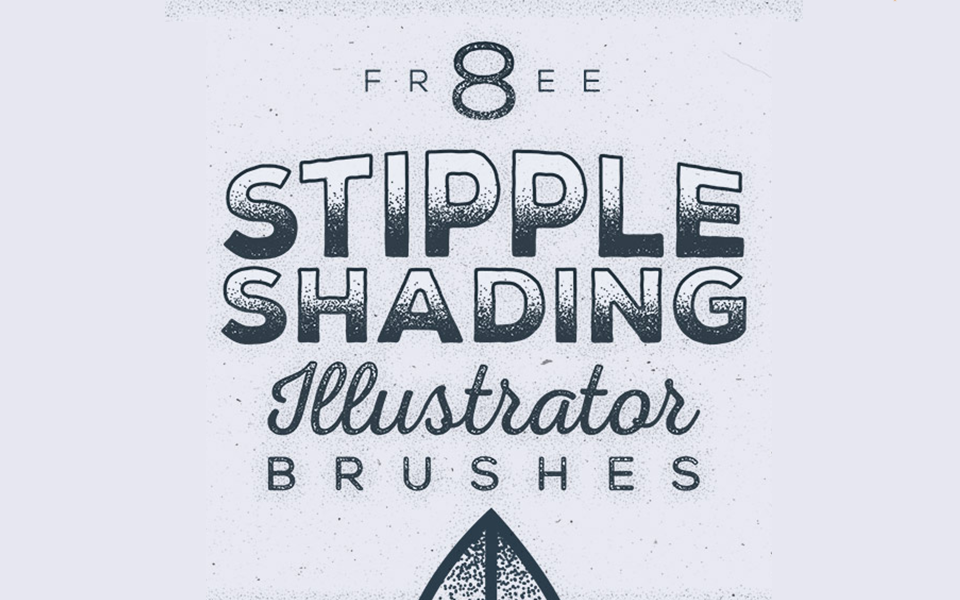
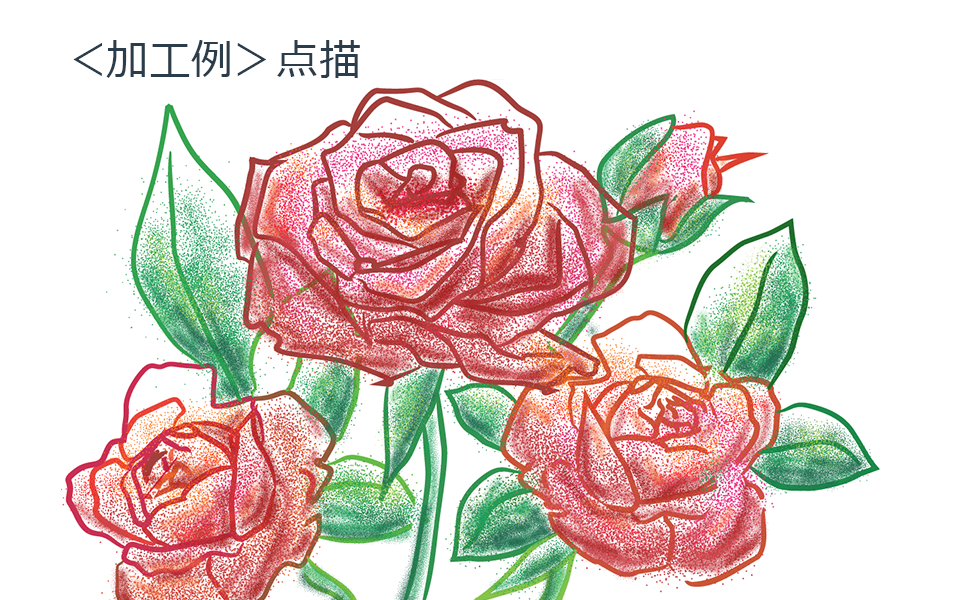
5【点描】8 Free Stipple
https://blog.spoongraphics.co.uk/freebies/8-free-stipple-shading-brushes-for-adobe-illustrator
「8 Free Stipple Shading Brushes for Adobe Illustrator」は、ザラザラした質感の点描を表現できるフリーブラシ素材で、8種類のブラシ素材が使用できます。ダウンロード時にメールアドレスの登録が必要です。
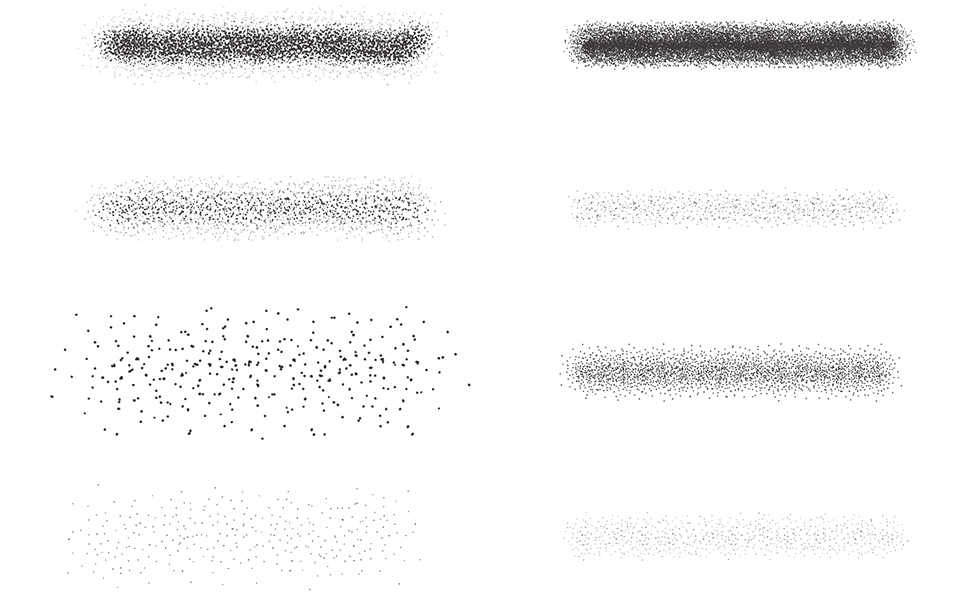
以下の加工例のように、インクを散布したような印象的なデザインができます。影のデザインとして点描で濃淡を表現してもいい感じになります。
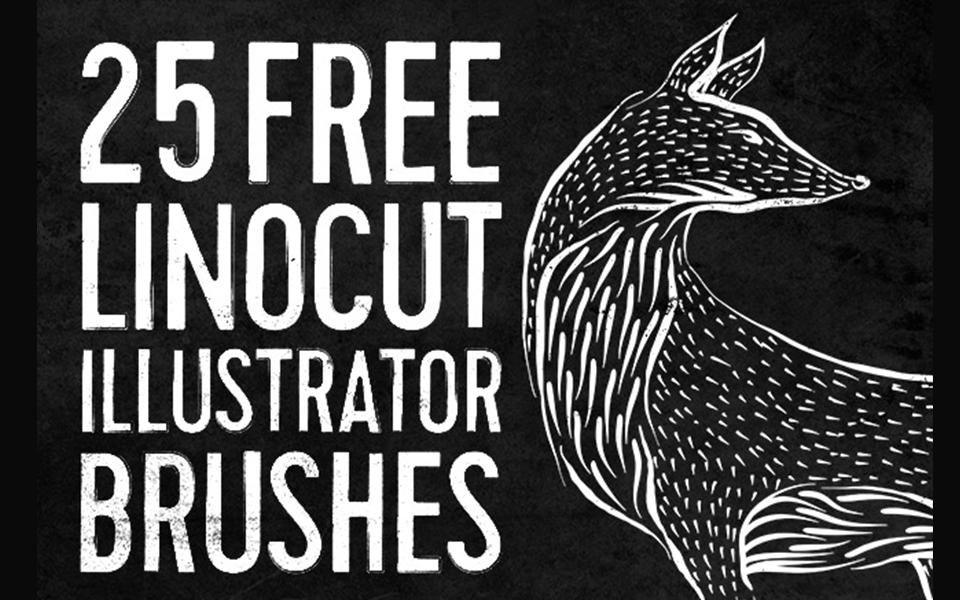
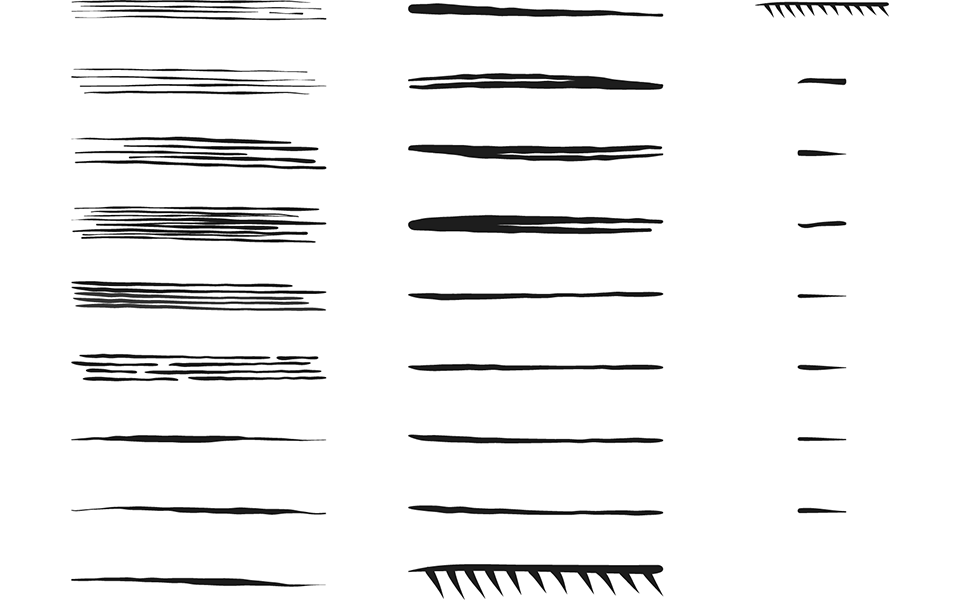
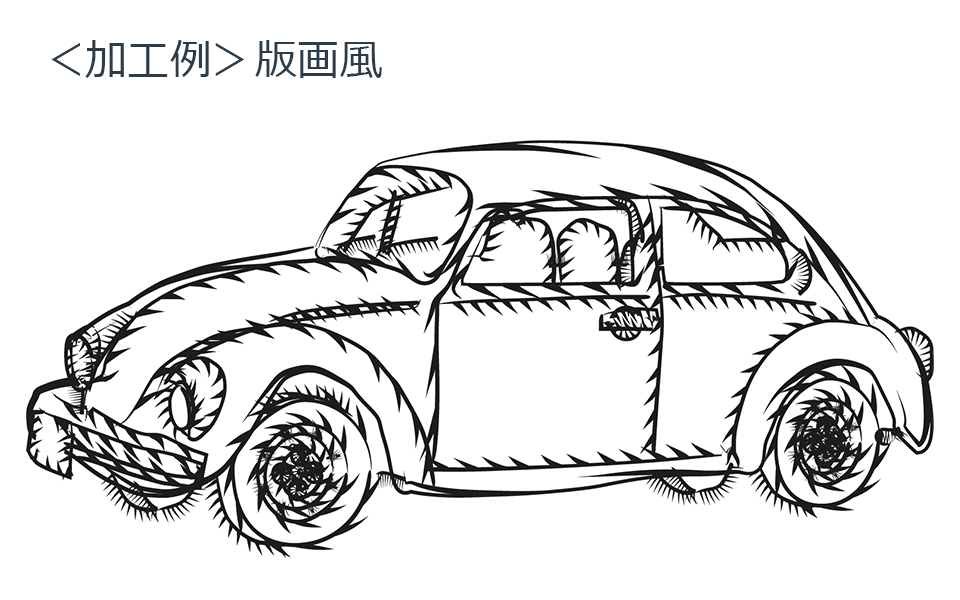
6【版画風】25 Linocut
https://blog.spoongraphics.co.uk/freebies/25-free-linocut-woodcut-brushes-for-adobe-illustrator
「25 Linocut Illustrator Brushes」は、版画風のタッチを再現できるフリーブラシ素材で、25種類の版画風ブラシが使用できます。ダウンロード時にメールアドレスの登録が必要です。
以下の加工例のように、版画風の独特なデザインを表現できます。
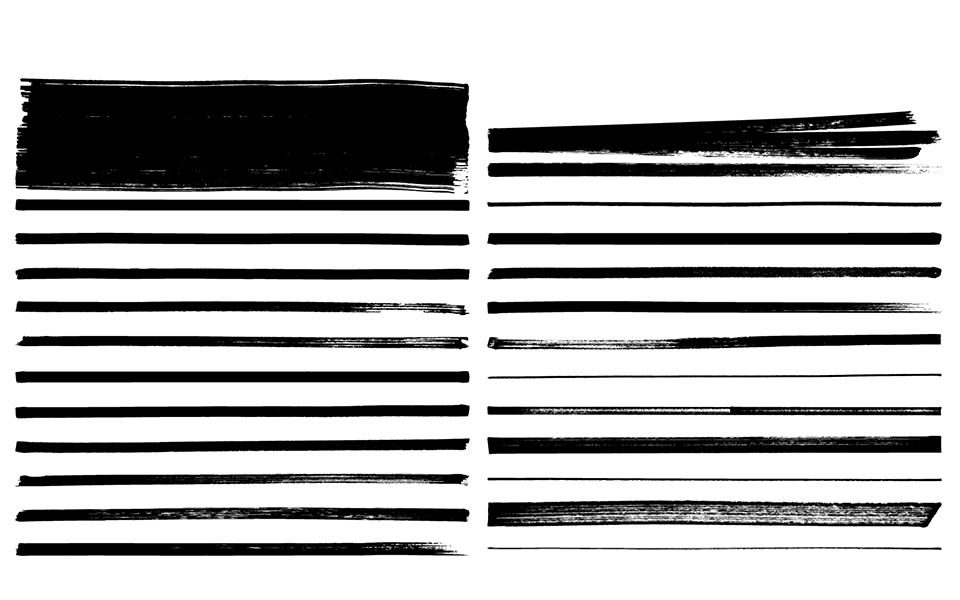
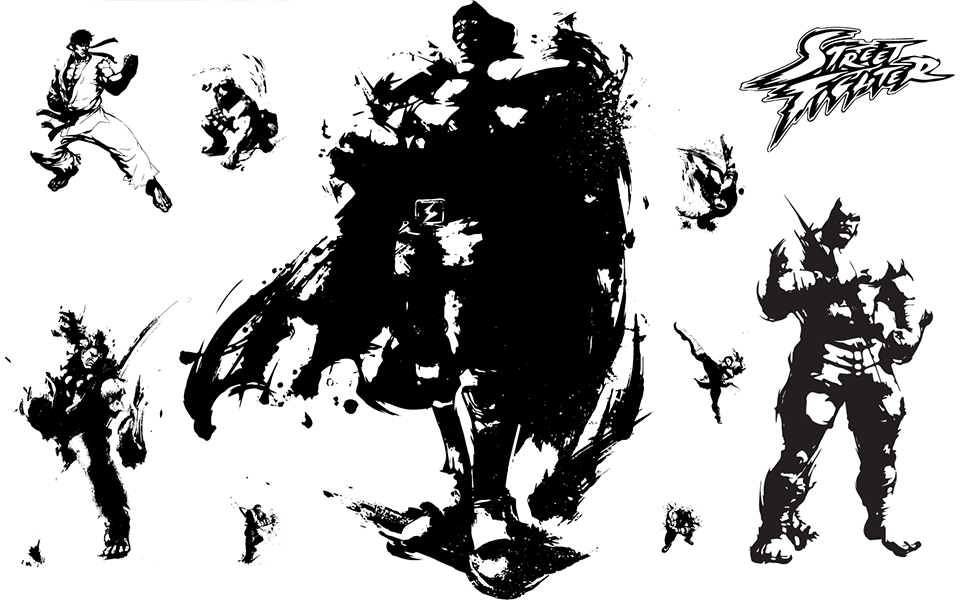
7【グランジ風】Free Vector Set of Grunge
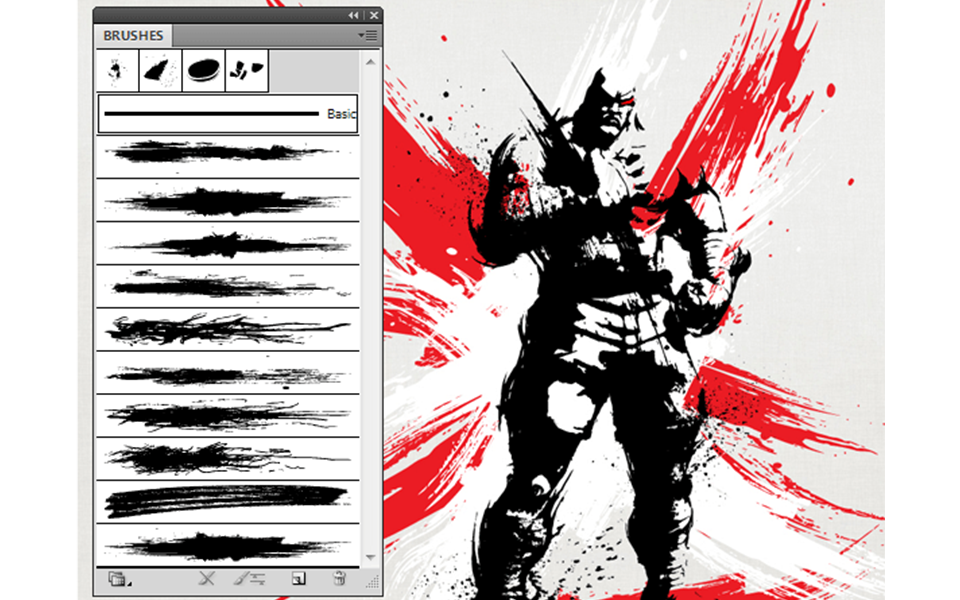
「Free Vector Set of Grunge Brushes」は、グランジ風の荒々しい表現ができるフリーブラシ素材で、19種類のブラシ素材を搭載しています。ダウンロード時にはメールアドレスの登録や会員登録は不要です。

荒々しく力強い独特のタッチで、イラストはもちろん、文字のデザインとしても使えます。

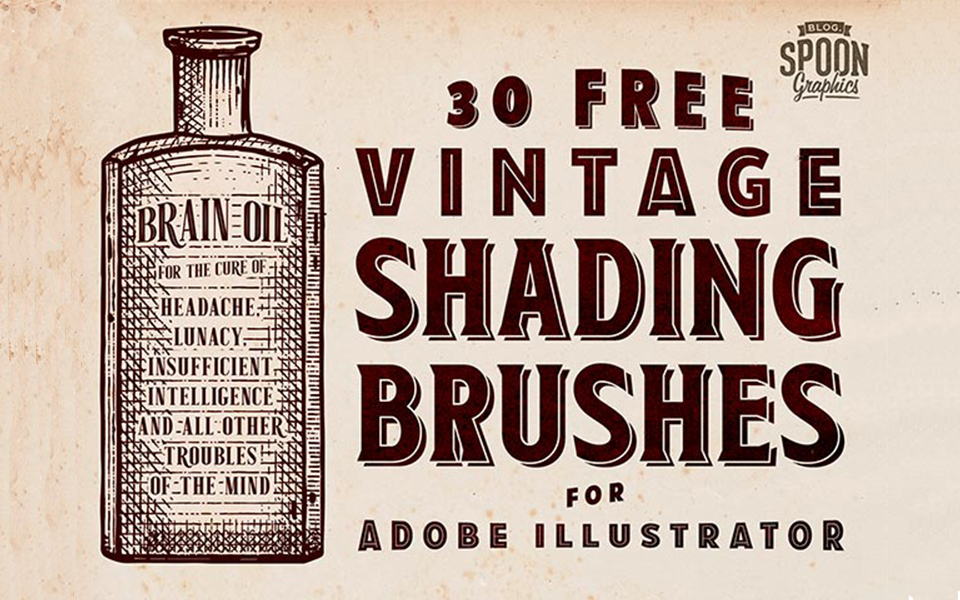
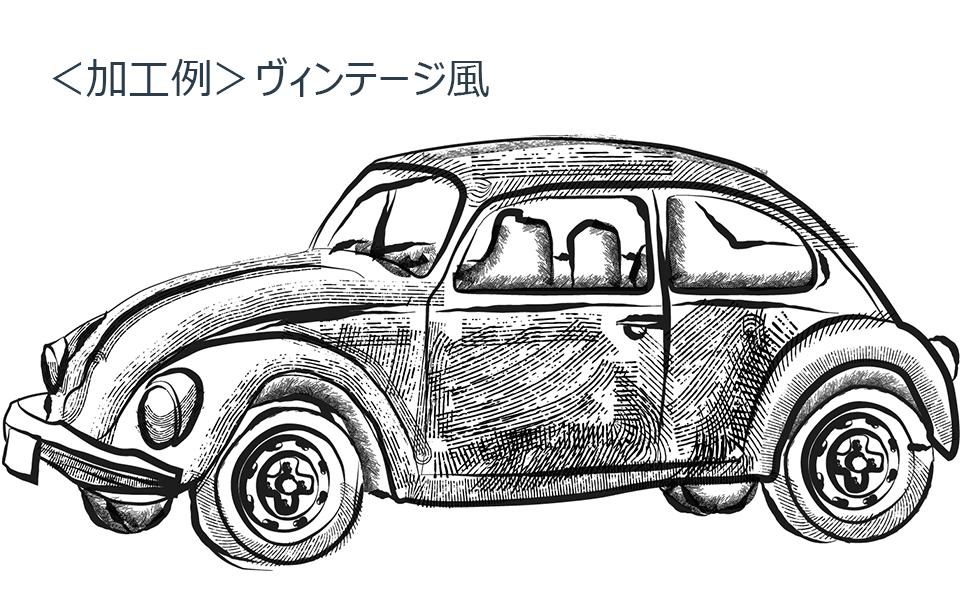
8【ヴィンテージ風】30 Free Vintage
https://blog.spoongraphics.co.uk/freebies/30-free-vintage-shading-brushes-adobe-illustrator
「30 Free Vintage Shading Brushes for Adobe Illustrator」は、ヴィンテージ風の線を表現できるフリーブラシ素材で、30種類もブラシ素材が搭載されています。ダウンロード時にメールアドレスの登録が必要です。
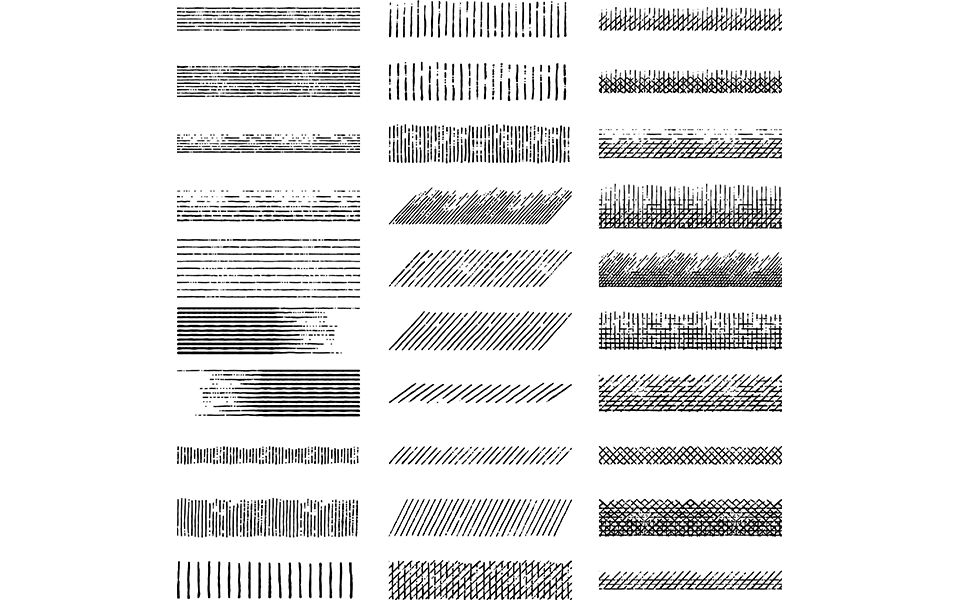
ほころびのある斜線が入ったブラシで輪郭や影を表現することで、おしゃれなヴィンテージ風のデザインを簡単に仕上げることができます。
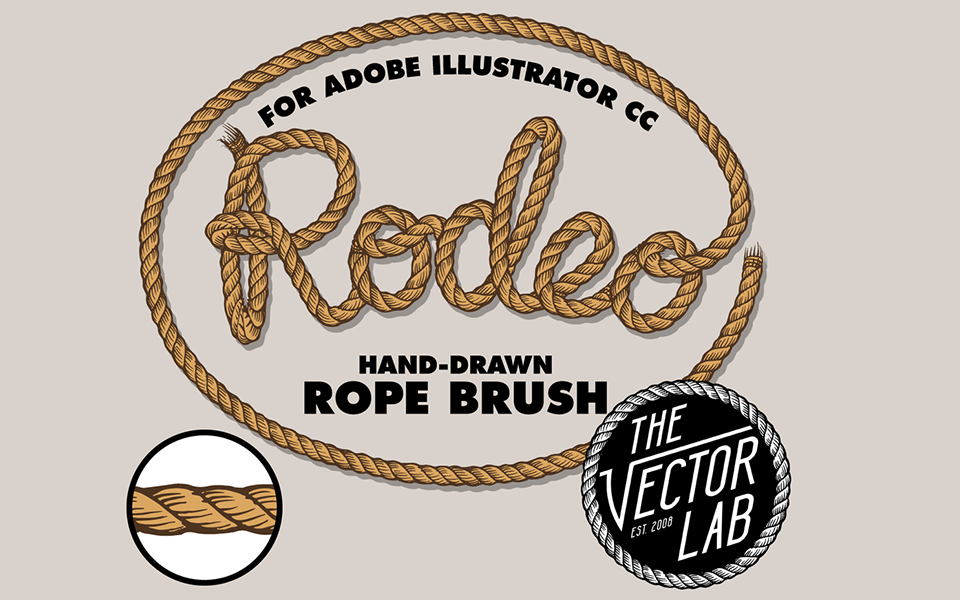
9【ロープのパターンブラシ】Rodeo
https://raydombroski.com/blog/2016/2/3/rodeo-hand-drawn-rope-brush-free-download
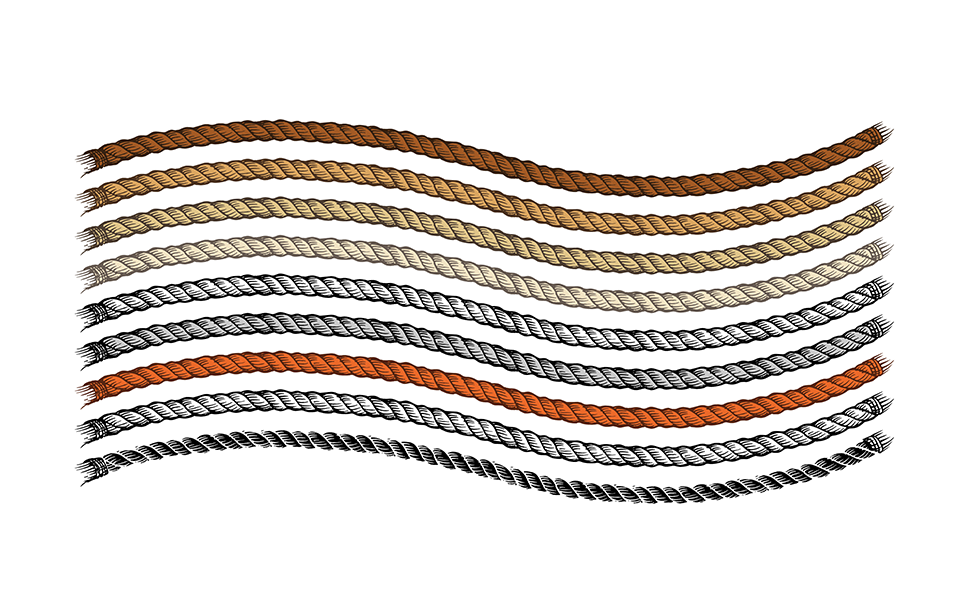
「Rodeo: Hand Drawn Rope Brush」は、線をロープにできるパターンブラシで、9種類のカラーを選択できます。ダウンロード時にメールアドレスの登録が必要です。
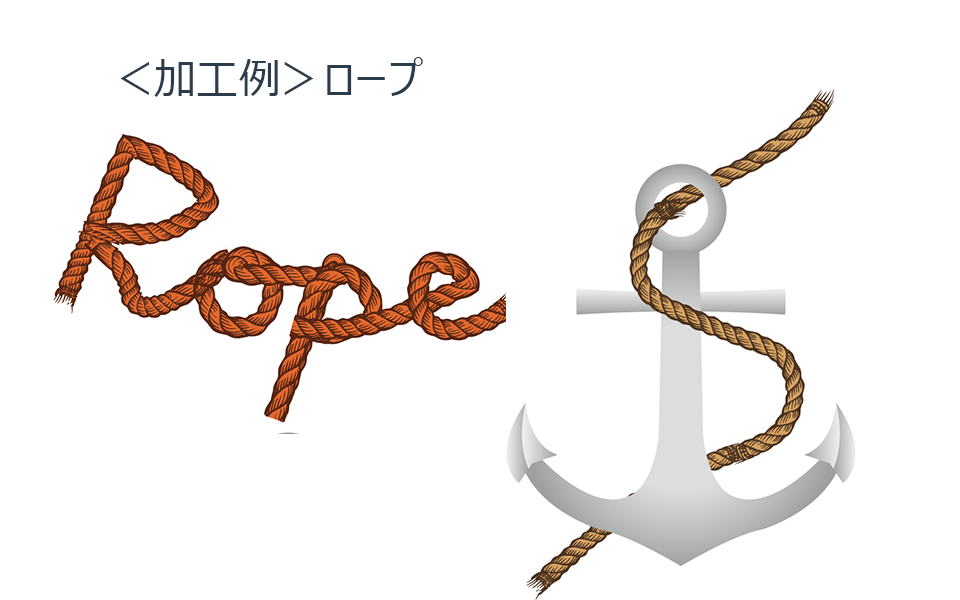
このパターンブラシを使うことで、ブラシツールで簡単にロープを描くことができるようになります。ロープで文字を表現してもおしゃれです。
10【花のパターンブラシ】Floral
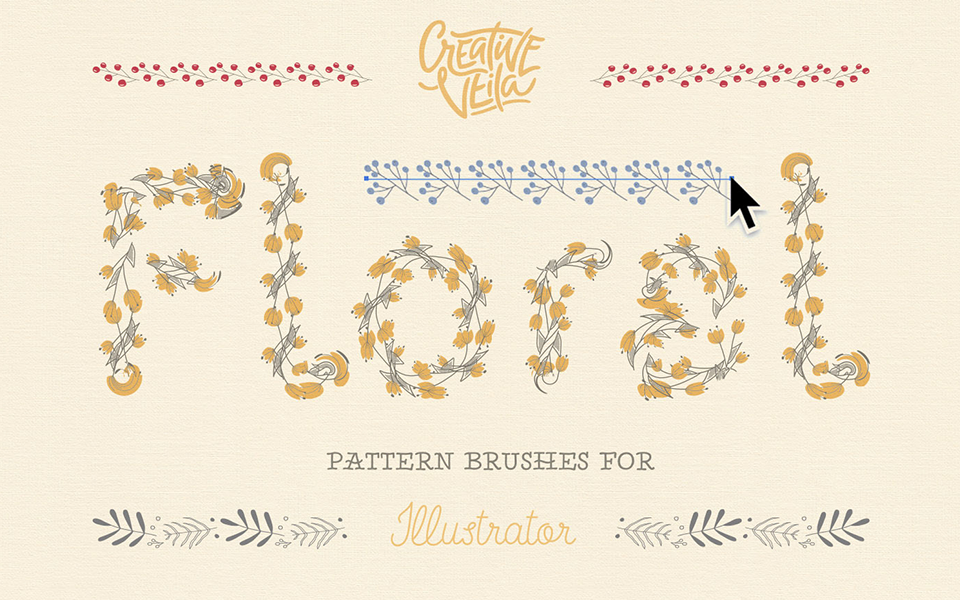
https://www.behance.net/gallery/63651073/Free-Floral-Pattern-Brushes-For-Illustrator
「Free Floral Pattern Brushes For Illustrator」は、線を草花のデザインに変えることができるパターンブラシで、25種類も草花のパターンがあります。ダウンロード時にメールアドレスの登録が必要です。
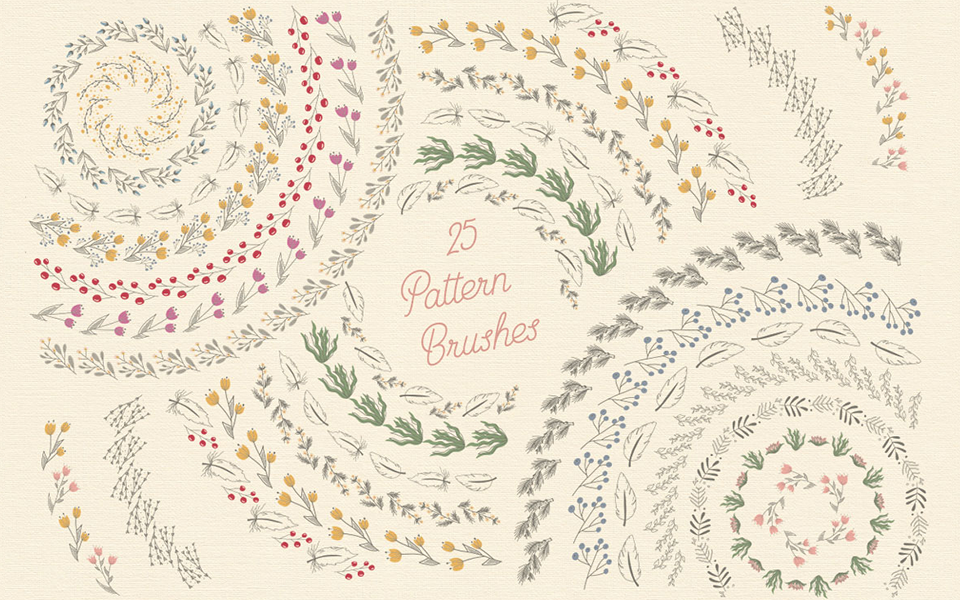
花のパターンブラシで、柔らかく明るいデザインを作ることができます。背景や枠として使うのがおススメです。

Illustratorでブラシ素材を追加する方法
①フリーブラシ素材(zipファイル)をダウンロード
配布サイトのダウンロードリンクをクリックし、フリーのブラシデータをダウンロードします。zip形式でダウンロードされますので、展開しましょう。
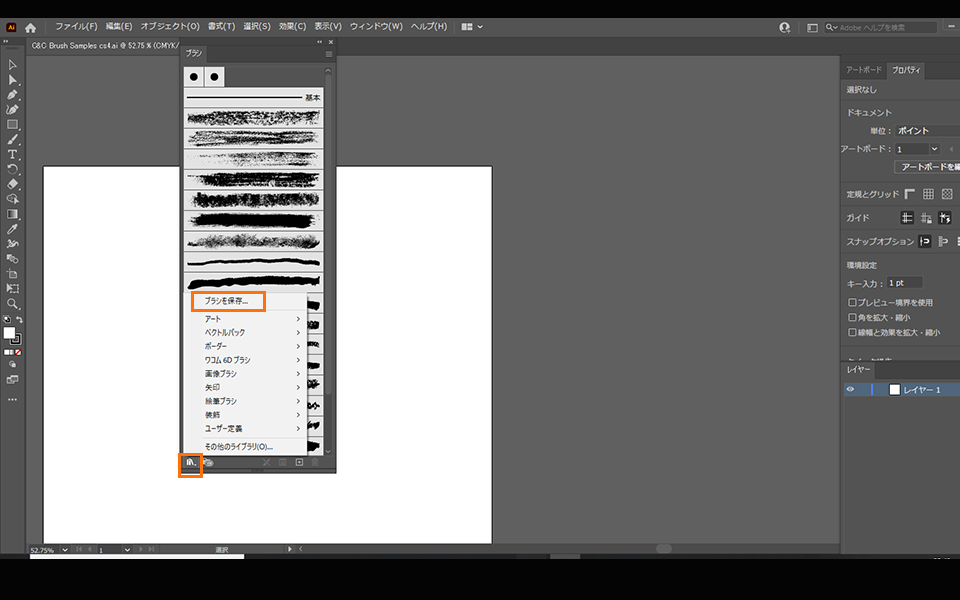
②Illustratorファイルを開き、フリーブラシ素材を追加
展開したファイル内のIllustratorファイル(拡張子.ai)をダブルクリックして開きます。ブラシパネルの左下のボタンをクリックし、ライブラリメニューを開きます。ライブラリメニューの「ブラシを保存」を選択しましょう。
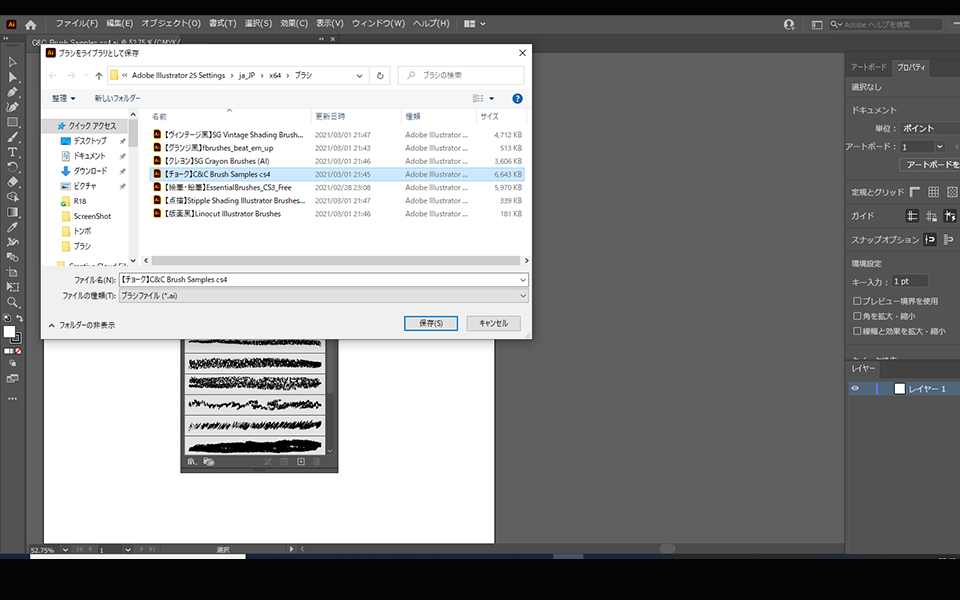
ブラシデータの保存ボックスが表示されます。ブラシデータの名前は任意で変えても大丈夫です。ブラシの種類が一目でわかるように名前を変えて保存しましょう。
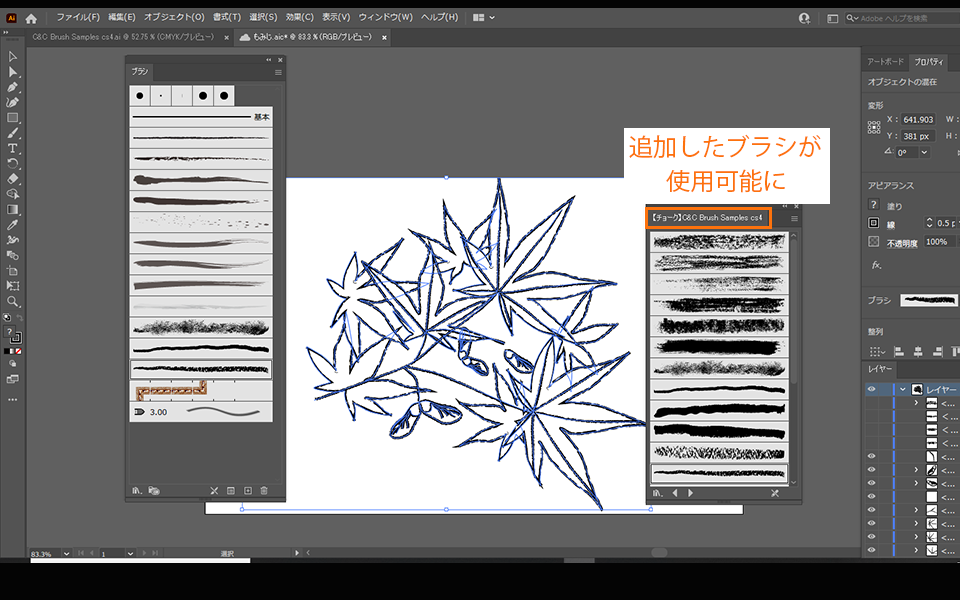
③追加ブラシがブラシツールで使用可能に!
これで、追加したブラシ素材が使用可能になりました。Illustratorで編集中に、ブラシパネルの左下のボタンをクリックし、ライブラリメニューを開きます。ライブラリメニューの「ユーザー定義」を選択しましょう。ここから先ほど追加したブラシが使用可能です。

Illustratorではブラシツールで描くことで、追加したブラシを使用できます。ツールボックスからブラシツールを選択して描いてみましょう。ブラシツール以外でも、ペンツールで描いた線も、線を選択した状態でブラシをクリックすることで変更できます。
Illustratorのブラシをオリジナル加工する方法
Illustratorによく慣れている人が見ると、「このイラストはあのブラシ素材を使ったな」と分かってしまうことがあります。 ブラシ素材をオリジナルで加工して独自のデザインに仕上げましょう。
ブラシをアウトライン化し、オリジナル加工
ブラシの形を微調整したり、余分なものを取り除きたい場合は、以下の手順でオリジナル加工しましょう。
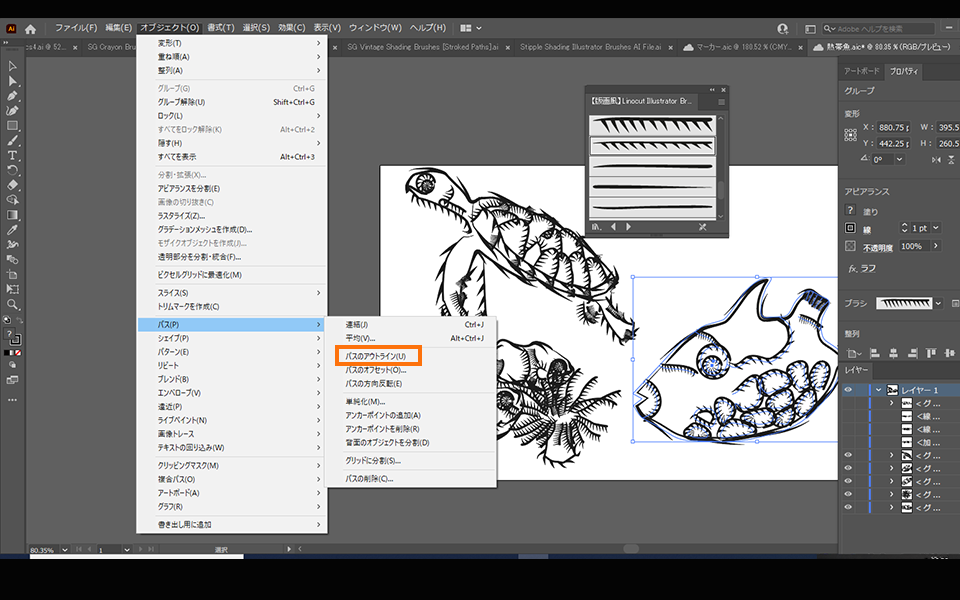
①「オブジェクト>パス>パスのアウトライン」
加工したいオブジェクトを選択し、メニューバーから「オブジェクト>パス>パスのアウトライン」を選択します。
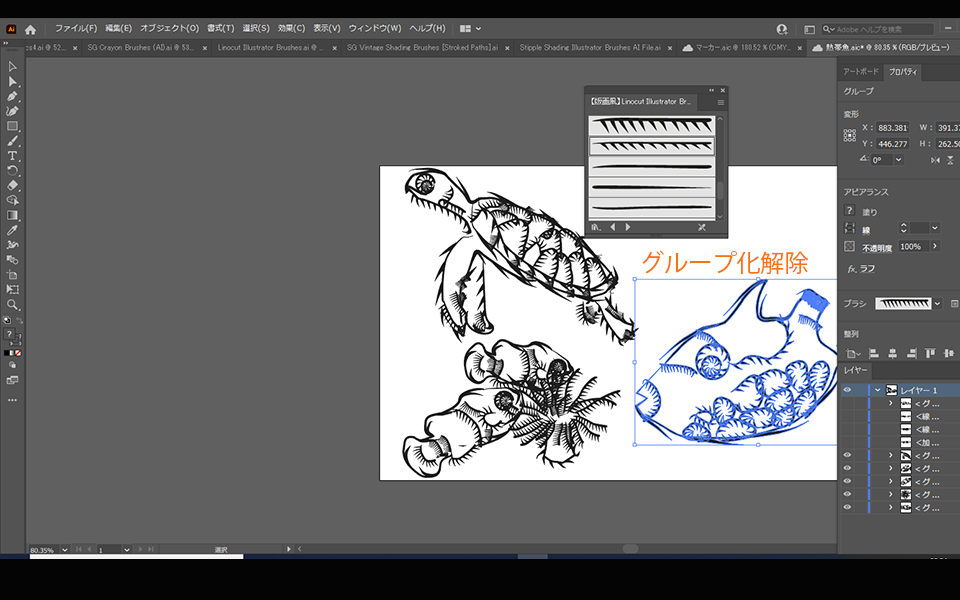
②グループ化を解除
オブジェクトはパーツごとに分解され、グループ化された状態になります。このグループを解除します。ショートカットは以下のとおりです。
Windows:Ctrl +Shift + G
Mac :⌘(Command) + Shift + G
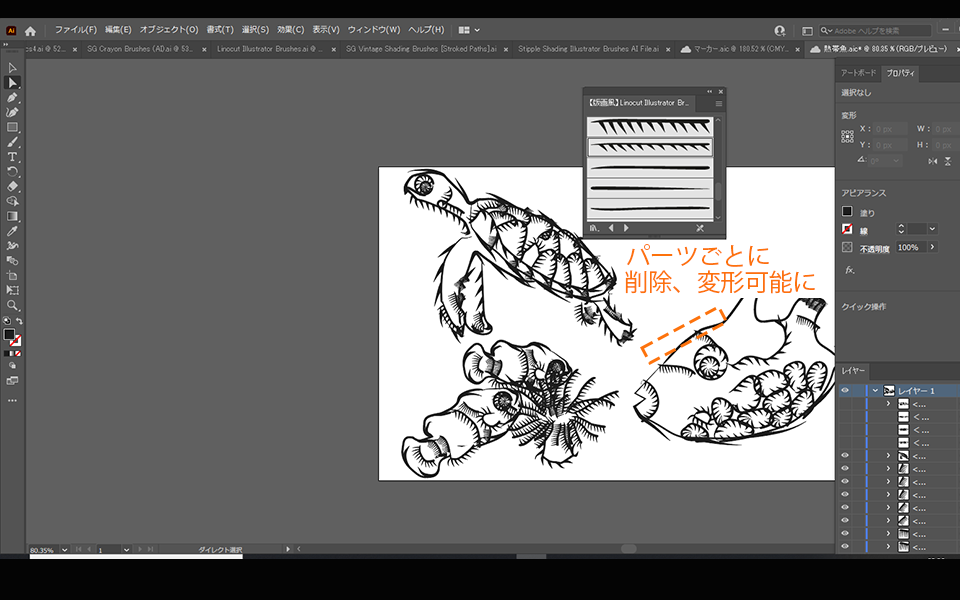
これでブラシをパーツごとにオリジナル加工できるようになりました。パーツごとに変形したり削除したりできます。
Illustratorでブラシの色が変更できないときは?
通常は、線の色がそのままブラシの色として反映されますが、反映されずブラシの色が黒くなってしまう場合があります。
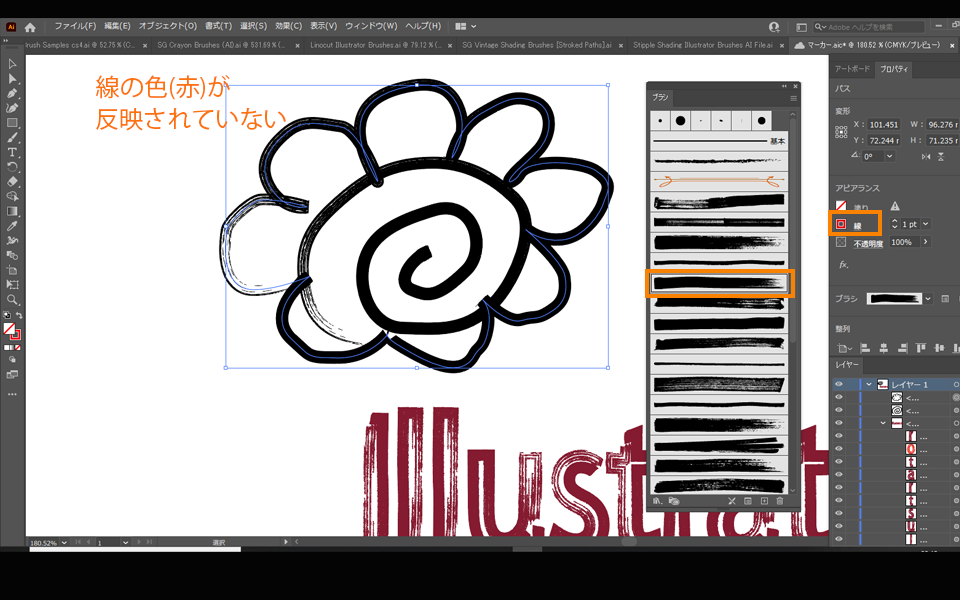
そんな時は、以下の手順でブラシの色を変えましょう。
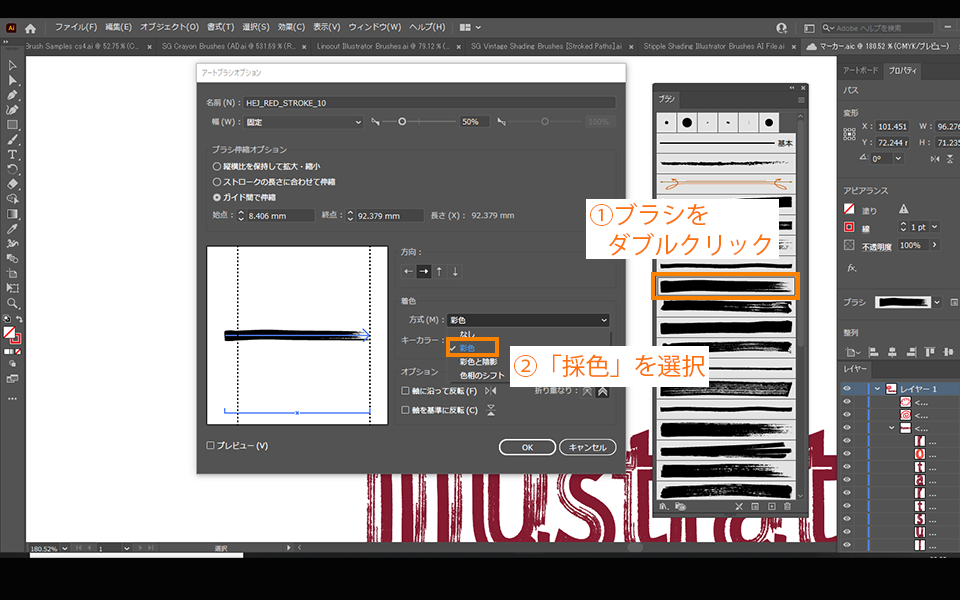
①ブラシパネルを開き、色を変えたいブラシの上でダブルクリック
②アートブラシオプションの「着色」の項目で方式を「彩色」に変更
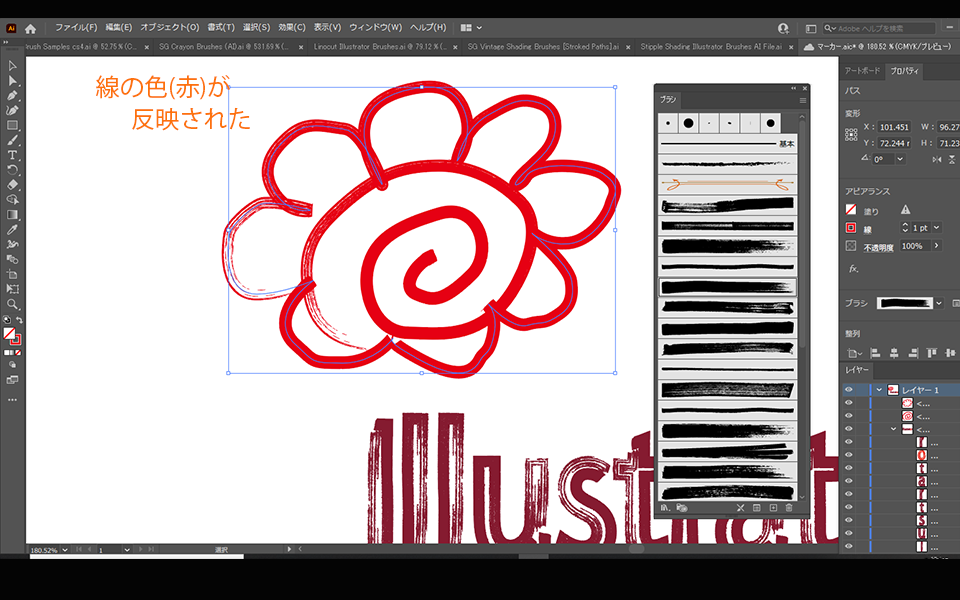
これで、線の色がブラシに反映されます。
Illustratorのフリーブラシ素材でデザインを手軽にハイクオリティ化!
Illustratorのブラシ素材を使うと、簡単に線のタッチをアレンジし、デザインの印象を大きく変えることができます。デザインの時短にもなりますね。
ブラシ素材のバリエーションが広がれば、Illustratorデザインのアイディアも膨らみ、よりハイクオリティなものが短い時間で作れるようになります。
今回紹介したフリーブラシ素材を追加して、イラストレーターデザインの幅を広げましょう!